The Hollow PETAPETA Controls, Stamina & Hiding
Master WASD, E, hotbar items, closets, and stuns so PETAPETA cannot end your Ofuda run.
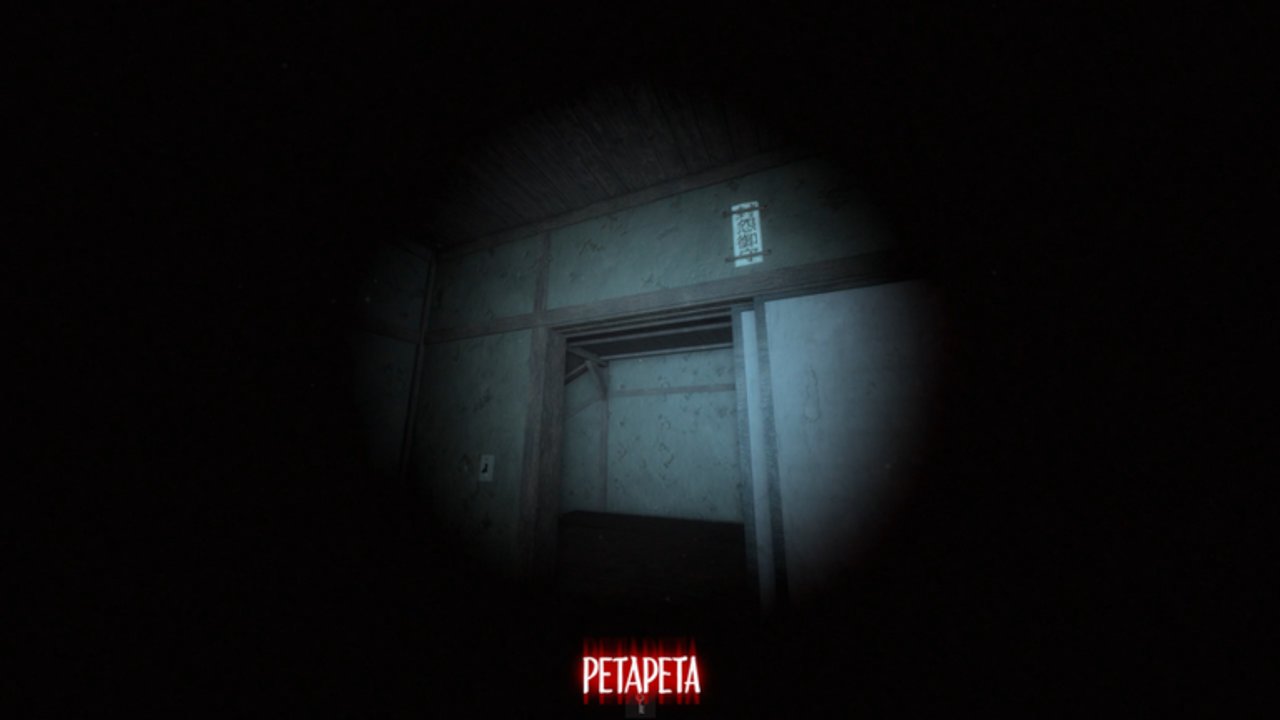
Controls and hiding decide whether you finish The Hollow 2026 Ofuda quest or drop on a hallway sprint. PETAPETA by Omochi Studio is a Roblox horror hotel maze: you explore rooms, solve key/box/safe steps, place Ofuda, and clear when the monster walks over the charm. This page is the survival manual that supports Getting Started, the Ofuda Survival Kit route, and the Level Walkthrough.
You can play solo, trio, or five-player online co-op. Extra teammates do not remove the need for personal stealth — a loud, stamina-empty runner still feeds the monster.
Full controls table
| Input | Action | Survival note |
|---|---|---|
| W A S D | Move | Strafe around corners; do not tunnel-vision forward only |
| E | Interact | Keys, boxes, safes, drawers, Ofuda placement, doors |
| Left mouse button | Use equipped item | Party popper, flashlight, other held tools |
| Shift | Sprint | Burns stamina — empty bar means no escape burst |
| 1–9 | Hotbar select | Pre-slot flashlight, popper, Onigiri, key, Ofuda |
Interact range is short. Face the object and tap E deliberately; spamming while looking at a wall wastes seconds during a chase. When you hold an Ofuda, keep placement as the only priority until the charm is down.
Stamina and sprint discipline
Sprint exists to create distance after a sighting or to cross a dangerous hallway between hides — not to travel the entire hotel at top speed. Habits that keep you alive:
- Walk while searching drawers and reading paper codes.
- Sprint only when you hear or see PETAPETA commit to your lane.
- End the sprint inside a closet, under a table, or around a hard corner — never in the middle of a long straight corridor.
- Eat Onigiri when stamina is low before you take a contested objective.
- In co-op, call “no stam” so a teammate can distract or stun while you recover.
Empty stamina on Level 3’s Evil Room path is a common wipe cause. Treat Onigiri like a planned resource, not floor candy you forget until the chase starts.
Hiding: closets and tables
Closets and under-table spots are the primary stealth tools.
- Enter early when the monster’s path will cross your room — late dives get you grabbed at the door.
- Stay inside until audio and sight lines suggest the patrol moved on. Peeking every half-second re-exposes you.
- Do not stack five players into one closet in five-queues if another hide is available; overflow bodies block exits.
- Tables help in furnished rooms when closets are far. Slide under before the monster rounds the doorway.
- After hiding, re-orient: where is the Key / paper / Ofuda marker relative to your exit?
Hiding is not AFK. Use the downtime to breathe, check hotbar, and plan the next interact. On Level 2, a hide near the safe lets the code reader work while a lookout watches the hall.
Party poppers (stun windows)
Party poppers stun PETAPETA briefly when used with LMB while equipped. Correct uses:
- Open a path to a closet when you are already spotted.
- Cover a teammate who is placing Ofuda.
- Interrupt a chase long enough to eat Onigiri or swap hotbar items.
Incorrect uses:
- Spamming poppers as if they were permanent crowd control.
- Stunning in an open lobby with no exit plan.
- Wasting the item on a monster that was already walking away.
Think of a popper as a two-second door unlock for your legs. Pair it with Shift sprint into a hide, not with standing still to admire the stun animation.
Flashlight and vision
Dark rooms hide paper codes, drawer items, and sometimes the silhouette of smoke toward the Evil Room. Keep the flashlight on a known hotbar key. Toggle it when you enter unlit spaces; turn it off if light would reveal your position in a contested hallway and you already know the route. On Level 3, vision discipline also means looking away from Hollow monsters at the peephole — that is a “camera” skill as much as a movement skill. See the Ofuda Survival Kit Level 3 section for peephole timing.
Hotbar layouts that work
Example solo layout:
- Flashlight
- Party popper
- Onigiri
- Key (when held)
- Ofuda (when held)
6–9. Flex slots for extra food or tools
In co-op, one player can main “utility” (flashlight + poppers) while another mains “objective” (key / Ofuda courier). Still keep a personal popper if inventory allows — dependence on a single stun player fails when they disconnect.
Audio and camera habits
- Lower music enough to hear footsteps and sting cues.
- Check corners with slight camera sweeps before committing to sprint.
- At the Level 3 peephole: short looks for information, immediate break when Hollow monsters appear.
- Do not spin the camera wildly while in a closet; stay still.
Linking survival to the Hollow quest
| Situation | Control / hide response |
|---|---|
| Level 1 green-arrow route with monster nearby | Walk the arrows, closet if crossed, place Ofuda only when lane is soft |
| Level 2 paper search | Split rooms, walk while searching, sprint only to regroup |
| Level 2 safe entry | One player types code, others watch halls with poppers ready |
| Level 3 smoke → Evil Room | Flashlight for approach, stamina reserve for retreat |
| Ofuda placed, waiting for clear | Hide immediately; do not emote in the open |
| Post-badge claim | You can relax movement — return to Floor 8 pedestal in The Hollow |
Event dates and claim cutoff: The Hollow Event updates. Reward list: Rewards. Step ticks: quest checklist.
Codes, scripts, and myths
Survival will not be fixed by a fake redeem code. PETAPETA has no promo redemption. Per-run safe digits are explained on safe codes and the Codes Hub. Quality-of-life script chatter belongs on Scripts — it does not replace closets, stamina, or peephole discipline. Prefer practice over shortcuts that risk your account.
Practice drills (five minutes)
- Stamina laps: sprint one hallway, hide, recover with Onigiri, repeat without getting caught in the open.
- Hotbar blind select: look away from the bar and hit the keys for flashlight / popper / food until muscle memory sticks.
- Hide timing: enter a closet before the monster enters the room, not after eye contact.
- Popper + sprint: stun, then immediately Shift into a planned hide — never stun and stand.
- Peephole dry run: practice short look / look-away cadence even before Level 3 so panic is lower when smoke appears.
Related guides and hubs
- Guides Hub
- Getting Started
- Ofuda Survival Kit
- Level Walkthrough
- Players · Tier List · Updates — The Hollow Event
Master quiet movement first. Keys and Ofuda are easy to understand; surviving long enough to use them is the real beginner wall. Once closets, stamina, and poppers feel automatic, Levels 1–3 for the Ofuda Survival Kit become a puzzle race instead of a horror coin flip.
Frequently Asked Questions
Quick answers to the most common questions.
What are the default PETAPETA movement and interact keys?
WASD moves, E interacts, left mouse uses the equipped item, Shift sprints with stamina, and 1–9 select hotbar slots.
Where should I hide from PETAPETA?
Use closets and hide under tables. Enter before the monster reaches your doorway, stay quiet, then exit toward your objective.
How do party poppers work?
Equip a party popper and use left mouse to stun PETAPETA briefly. Spend that window sprinting into a hide or finishing Ofuda placement — do not treat stuns as permanent CC.
What restores stamina?
Onigiri restores stamina. Eat before contested sprints; do not wait until the bar is empty in an open hallway.
Does co-op remove the need to hide?
No. Solo, trio, and five-player queues all still require personal stealth, stamina management, and disciplined item use.