The Hollow PETAPETA PETAPETA Safe Codes by Level
Every combination is unique to your run — learn where clues spawn, not what symbols to type.
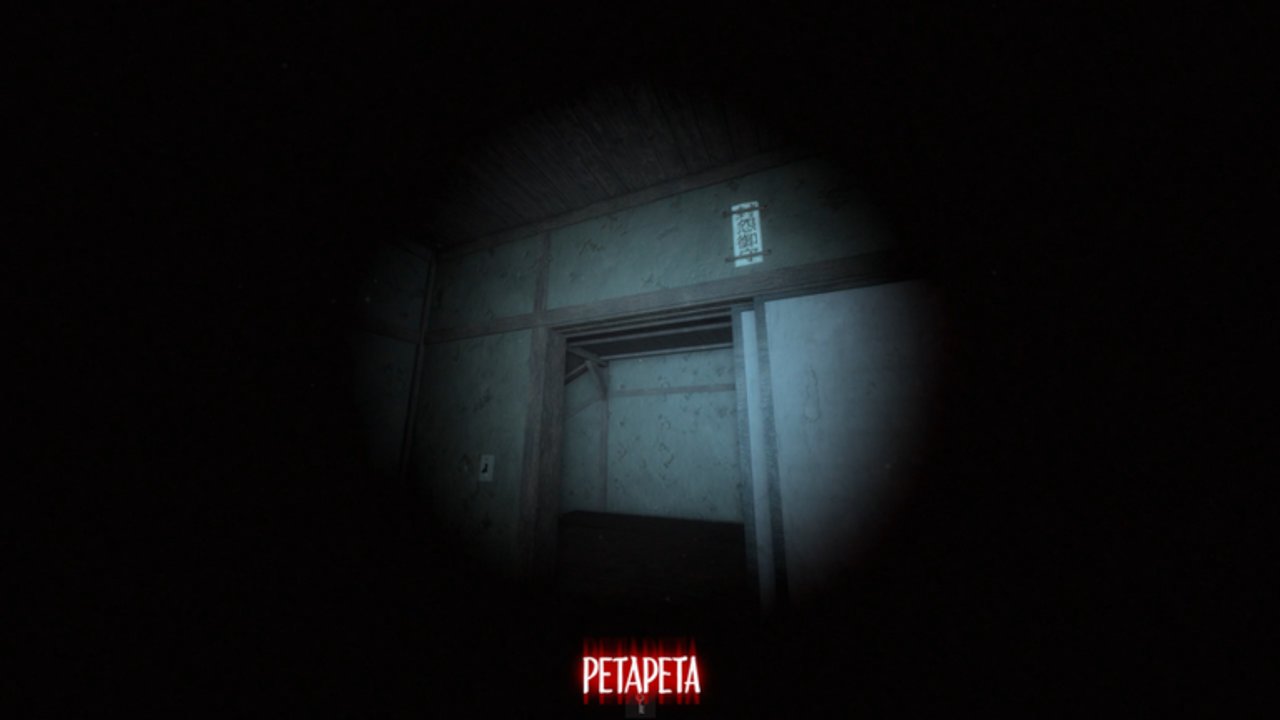
This page is the practical answer to “what is the PETAPETA safe code?” There is no shared number that works for every lobby. Omochi Studio regenerates combinations each run so you explore the Japanese hotel maze instead of memorizing one dial. If you only need the big-picture reminder that gift codes do not exist, start at the Codes Hub, then come back here when you are standing in front of a locked safe.
Golden rule: unique per run
- Your paper, HUD strip, or peephole sequence belongs to this match only.
- Teammates can receive different clues even when you share the same floor.
- Screenshotting a streamer’s dial and typing it into your safe will fail.
- Once a clue is accepted onto your HUD, leave it visible and match symbols left to right at the safe.
Treat creator videos as room finders. Use them to learn eye-banner doors, tatami memo spots, and red-smoke markers—not as code databases.
Level 1 — no safe code, hunt the Key
Level 1 teaches the core Ofuda loop without a combination lock.
- Follow green arrows when they appear; otherwise sweep rooms for the Key (check behind closets, under tables, and near eye-banner doorways).
- Carry the Key to the wooden Box / lockbox, open it, and take the first Ofuda.
- Place the Ofuda on the marked hallway floor (or wall marking) and wait for activation.
- When PETAPETA spawns or approaches, break line of sight and hide in a closet until footsteps fade.
Graphics tip for later floors: set graphics to manual 4 or higher so the flashlight behaves. That setting matters more once you rely on beam range to spot papers and safes.
Beginners should skim Getting Started before grinding Level 1 solo or in trio/five-player queues.
Level 2 — paper or memo code for the Safe
Level 2 adds three objectives that can spawn in different rooms: Box, Safe, and paper/memo with the code.
Finding the paper
- Search walls, corner memos, and tatami floors for a pick-up interaction.
- After you press interact, the combination usually sticks on the left HUD so you do not have to memorize under chase pressure.
- Codes may be katakana rings (for example a four-character keyword) or symbol sequences—match what your memo shows, not a guide example.
Opening the Safe and finishing the Ofuda
- Locate the wall safe (often a wider room with a glowing outline or concentric dial rings).
- Enter the HUD / paper sequence in order, then Open to take the Key.
- Unlock the Box, retrieve the second Ofuda, place and activate it on the marked spot.
- Hide again when the monster patrols—Party Poppers can buy a short stun window if you bought them with Zeni between runs (see the tier list).
If the safe refuses to open, you almost certainly entered another run’s symbols or mismatched ring order. Re-read your own paper; do not refresh a YouTube pause frame.
Level 3 — peephole / Evil Room clue (Hollow focus)
Level 3 still contains the normal Safe → Key → Box → Ofuda chain for a full floor clear, but The Hollow PETAPETA quest centers on a special room:
- Explore until you see red or pink smoke marking the Evil Room. Green arrows may not point straight at it.
- Enter and find the wall hole / peephole (often surrounded by bloody handprints).
- Hold interact (E on PC) to Watch. Follow on-screen Avoid prompts when Hollow entities attack—do not invent a fixed dodge string from a video.
- The encounter reveals your safe-code sequence (or completes the event beat). Continue until the mission-complete message and the PETAPETA / Hollow badge appear.
For the limited Halloween route, many players can claim the event badge after the peephole objective without finishing every optional Level 3 puzzle. Confirm your badge, then return to The Hollow Hub Floor 8 Secret Room pedestal for the Ofuda Survival Kit UGC and ticket rewards listed under players rewards.
If you still need the Level 3 Key for a full clear: use the peephole-derived (or paper) clue on the Safe, open the Box, place the third Ofuda, and survive the activation chase.
Search habits that beat random mazes
- Sweep methodically: check drawers, pillows, and moveable tables for Zeni while hunting clues so the lobby shop funds Onigiri and flashlight upgrades.
- Listen for footsteps and watch for screen shake before committing to a long safe dial session.
- Closets and under-table spots are your primary defense; poppers are emergency tools that weaken on later floors.
- Keep the quest checklist open on a second screen during Hollow runs so you do not forget the Floor 8 claim step after the badge pops.
Common failures and fixes
| Symptom | Likely cause | Fix |
|---|---|---|
| Safe never opens | Copied YouTube / friend’s code | Re-pickup your paper or re-watch peephole |
| Cannot find Level 2 paper | Skipped corner / tatami rooms | Widen search; use better flashlight beam |
| No Level 3 event progress | Missed red-smoke room | Hunt smoke, not only green arrows |
| Badge but no kit | Skipped pedestal claim | Return to Hollow Hub Floor 8 Secret Room |
| Flashlight cuts out | Graphics too low | Manual graphics ≥ 4 |
How this page ties into the rest of the wiki
Use Codes Hub when someone asks for promo gifts. Use this Safe Codes page when they are mid-floor. Pair with the level walkthrough, Guides Hub, and educational scripts notes only if you understand ban risk. Loadout priorities for Hollow versus normal clears live on the Tier List Hub.
Remember the one sentence that ends most arguments in voice chat: PETAPETA safe codes are unique per run—never copy them from YouTube.
Frequently Asked Questions
Quick answers to the most common questions.
Is there one working PETAPETA safe code right now?
No. Combinations are generated per run. Learn Level 2 paper and Level 3 peephole locations, then enter the symbols shown on your HUD.
Where is the Level 2 code?
On a wall paper or tatami memo. Pick it up so the sequence appears on your HUD, then match it on the safe dial left to right.
Where is the Level 3 code for The Hollow quest?
Find the red or pink smoke Evil Room, interact with the peephole, follow Avoid prompts, and use the sequence your encounter reveals—do not copy a video.
Does Level 1 have a safe code?
No. Level 1 is a direct Key → Box → Ofuda placement loop without a combination safe.
I got the badge but not the Ofuda Survival Kit. Why?
Claiming is separate. Return to The Hollow Hub, reach Floor 8, and take the kit from the Secret Room pedestal.